# Service Exposure

To invoke the service functionality provided by a workload both within and outside the cluster, services are defined using Cluster IP and Node Port methods.

If services are defined using the Node Port method in a cloud-configured cluster, a load balancer can be configured in front of it, allowing external invocation of services through the load balancer address and port.

## What types of service exposure do you support?

* Cluster IP: Groups pods set with the same label to perform load balancing (not in round-robin but random connection), facilitating internal communication.
* Node Port: Distributes the same port to each POD, performs load balancing using Cluster IP and port, and allows external exposure.
* <mark style="color:red;">**When using Node Port, you need to register the Node Port for KT LB to use it.**</mark>
* <mark style="color:red;">**For inquiries regarding KT firewall and LB Port Open, please contact MSP directly.**</mark>

## What are the benefits of service exposure?

### **Easy Service Creation**

Users can easily create various service exposure types through the web UI console.

### **Automatic Load Balancer Creation**

When a cluster is configured in a public cloud, Cocktail Cloud automatically creates a load balancer. Service exposure using the load balancer type is possible only on clouds that support it, such as AWS, Azure, and GCP.

## **Task List**

* Create services
* View services

## 1. **Create Services**

### 1.1 Navigate to the service exposure screen

1\) Select \[Application] - \[Service Map], then click the "+ Create" button to move to the service exposure screen.

<figure><img src="https://4196990571-files.gitbook.io/~/files/v0/b/gitbook-x-prod.appspot.com/o/spaces%2FL5As9l8R3RbLkQd6XsfL%2Fuploads%2FqXlxVkj1gHf8011zB48l%2Fimage.png?alt=media&#x26;token=12e5cfb0-55a5-49c0-a20f-8678f246ef43" alt=""><figcaption><p>[Screen] Service Map - Service Exposure</p></figcaption></figure>

### 1.2 Choose the service exposure type

1\) Select ClusterIP or Nodeport as needed.

<figure><img src="https://4196990571-files.gitbook.io/~/files/v0/b/gitbook-x-prod.appspot.com/o/spaces%2FL5As9l8R3RbLkQd6XsfL%2Fuploads%2FdCXyCUdzY6G87vkq8Mi4%2Fimage.png?alt=media&#x26;token=d96b7ef5-52da-43ff-bd83-7a537829a41c" alt=""><figcaption><p>[Screen] Select Service Exposure Type</p></figcaption></figure>

{% hint style="danger" %}
\[For KT customers] When creating a Node Port type service, you need to contact MSP for load balancer creation and firewall setup.
{% endhint %}

### 1.3 Enter basic service exposure information

1\) Enter basic service exposure information.

<figure><img src="https://4196990571-files.gitbook.io/~/files/v0/b/gitbook-x-prod.appspot.com/o/spaces%2FL5As9l8R3RbLkQd6XsfL%2Fuploads%2FUDBi2LgCSrpuHyhLv5Lc%2Fimage.png?alt=media&#x26;token=3f8009f3-60b5-4f15-aa9a-9faf683e28c1" alt=""><figcaption><p>[Screen] Service Exposure Configuration</p></figcaption></figure>

<table><thead><tr><th width="171">Item (* is required)</th><th>Content</th></tr></thead><tbody><tr><td>Service Exposure Name*</td><td>Write the service exposure name you want to create</td></tr><tr><td>Service Expose type</td><td>It is displayed according to the type selected when creating the service exposure</td></tr><tr><td>Sticky Session</td><td>If you want to use Sticky Session, check TRUE and enter the session timeout</td></tr><tr><td>Headless Service</td><td>If you want to use Headless Service, check its availability</td></tr><tr><td>Label selector*</td><td>Select the workload and label you want to connect to the service</td></tr><tr><td>Label</td><td>Input labels to be registered for service exposure</td></tr><tr><td>Annotation</td><td>Input comments to be registered for service exposure</td></tr></tbody></table>

2\) Click "Label Selector," choose the workload and label to connect the service to, then click the "+ Add" button.

3\) Confirm that the selected label is displayed at the bottom as Key, Value, and click the "Apply" button.

<figure><img src="https://4196990571-files.gitbook.io/~/files/v0/b/gitbook-x-prod.appspot.com/o/spaces%2FL5As9l8R3RbLkQd6XsfL%2Fuploads%2FKQc3U1rOvFBj7PrClMHL%2Fimage.png?alt=media&#x26;token=03fdffee-7235-4c3a-9ad9-2fe4d8e2ea2a" alt=""><figcaption><p>[Screen] Select labels set in the workload to add as service labels</p></figcaption></figure>

<figure><img src="https://4196990571-files.gitbook.io/~/files/v0/b/gitbook-x-prod.appspot.com/o/spaces%2FL5As9l8R3RbLkQd6XsfL%2Fuploads%2Frpd3o2fjdt4DWSYVY87m%2Fimage.png?alt=media&#x26;token=84e06298-ca20-4b39-8d83-3c68117f49d3" alt=""><figcaption><p>[Screen] Select existing labels set in the workload to input as service labels</p></figcaption></figure>

{% hint style="info" %}
You can either select labels pre-set in the workload or directly input a label name and value.
{% endhint %}

<figure><img src="https://4196990571-files.gitbook.io/~/files/v0/b/gitbook-x-prod.appspot.com/o/spaces%2FL5As9l8R3RbLkQd6XsfL%2Fuploads%2FnUJsRdIBwvDi5gqyahX7%2Fimage.png?alt=media&#x26;token=2f200c13-82cf-41d3-8e1f-dde6ed543a7e" alt=""><figcaption><p>[Screen] Enter Label Information for Service as Name-Value Pair</p></figcaption></figure>

{% hint style="info" %}
When directly adding a workload, input fields for Key and Value will be added at the bottom, and you can enter them directly.
{% endhint %}

### 1.4 Configure service target ports

1\) In the service exposure settings, click the "Edit" button in the Target Ports section.

2\) Click "+ Add," then enter the Name, Protocol, Target Port, and Service Port at the bottom.

{% hint style="info" %}
Name, Protocol, Target Port, and Service Port are mandatory, and you can choose between TCP and UDP for the protocol.
{% endhint %}

<figure><img src="https://4196990571-files.gitbook.io/~/files/v0/b/gitbook-x-prod.appspot.com/o/spaces%2FL5As9l8R3RbLkQd6XsfL%2Fuploads%2FHd2yHOOmgxPyap16oPO5%2Fimage.png?alt=media&#x26;token=d09eda32-4b79-400d-8e0c-025c9497f1e9" alt=""><figcaption><p>
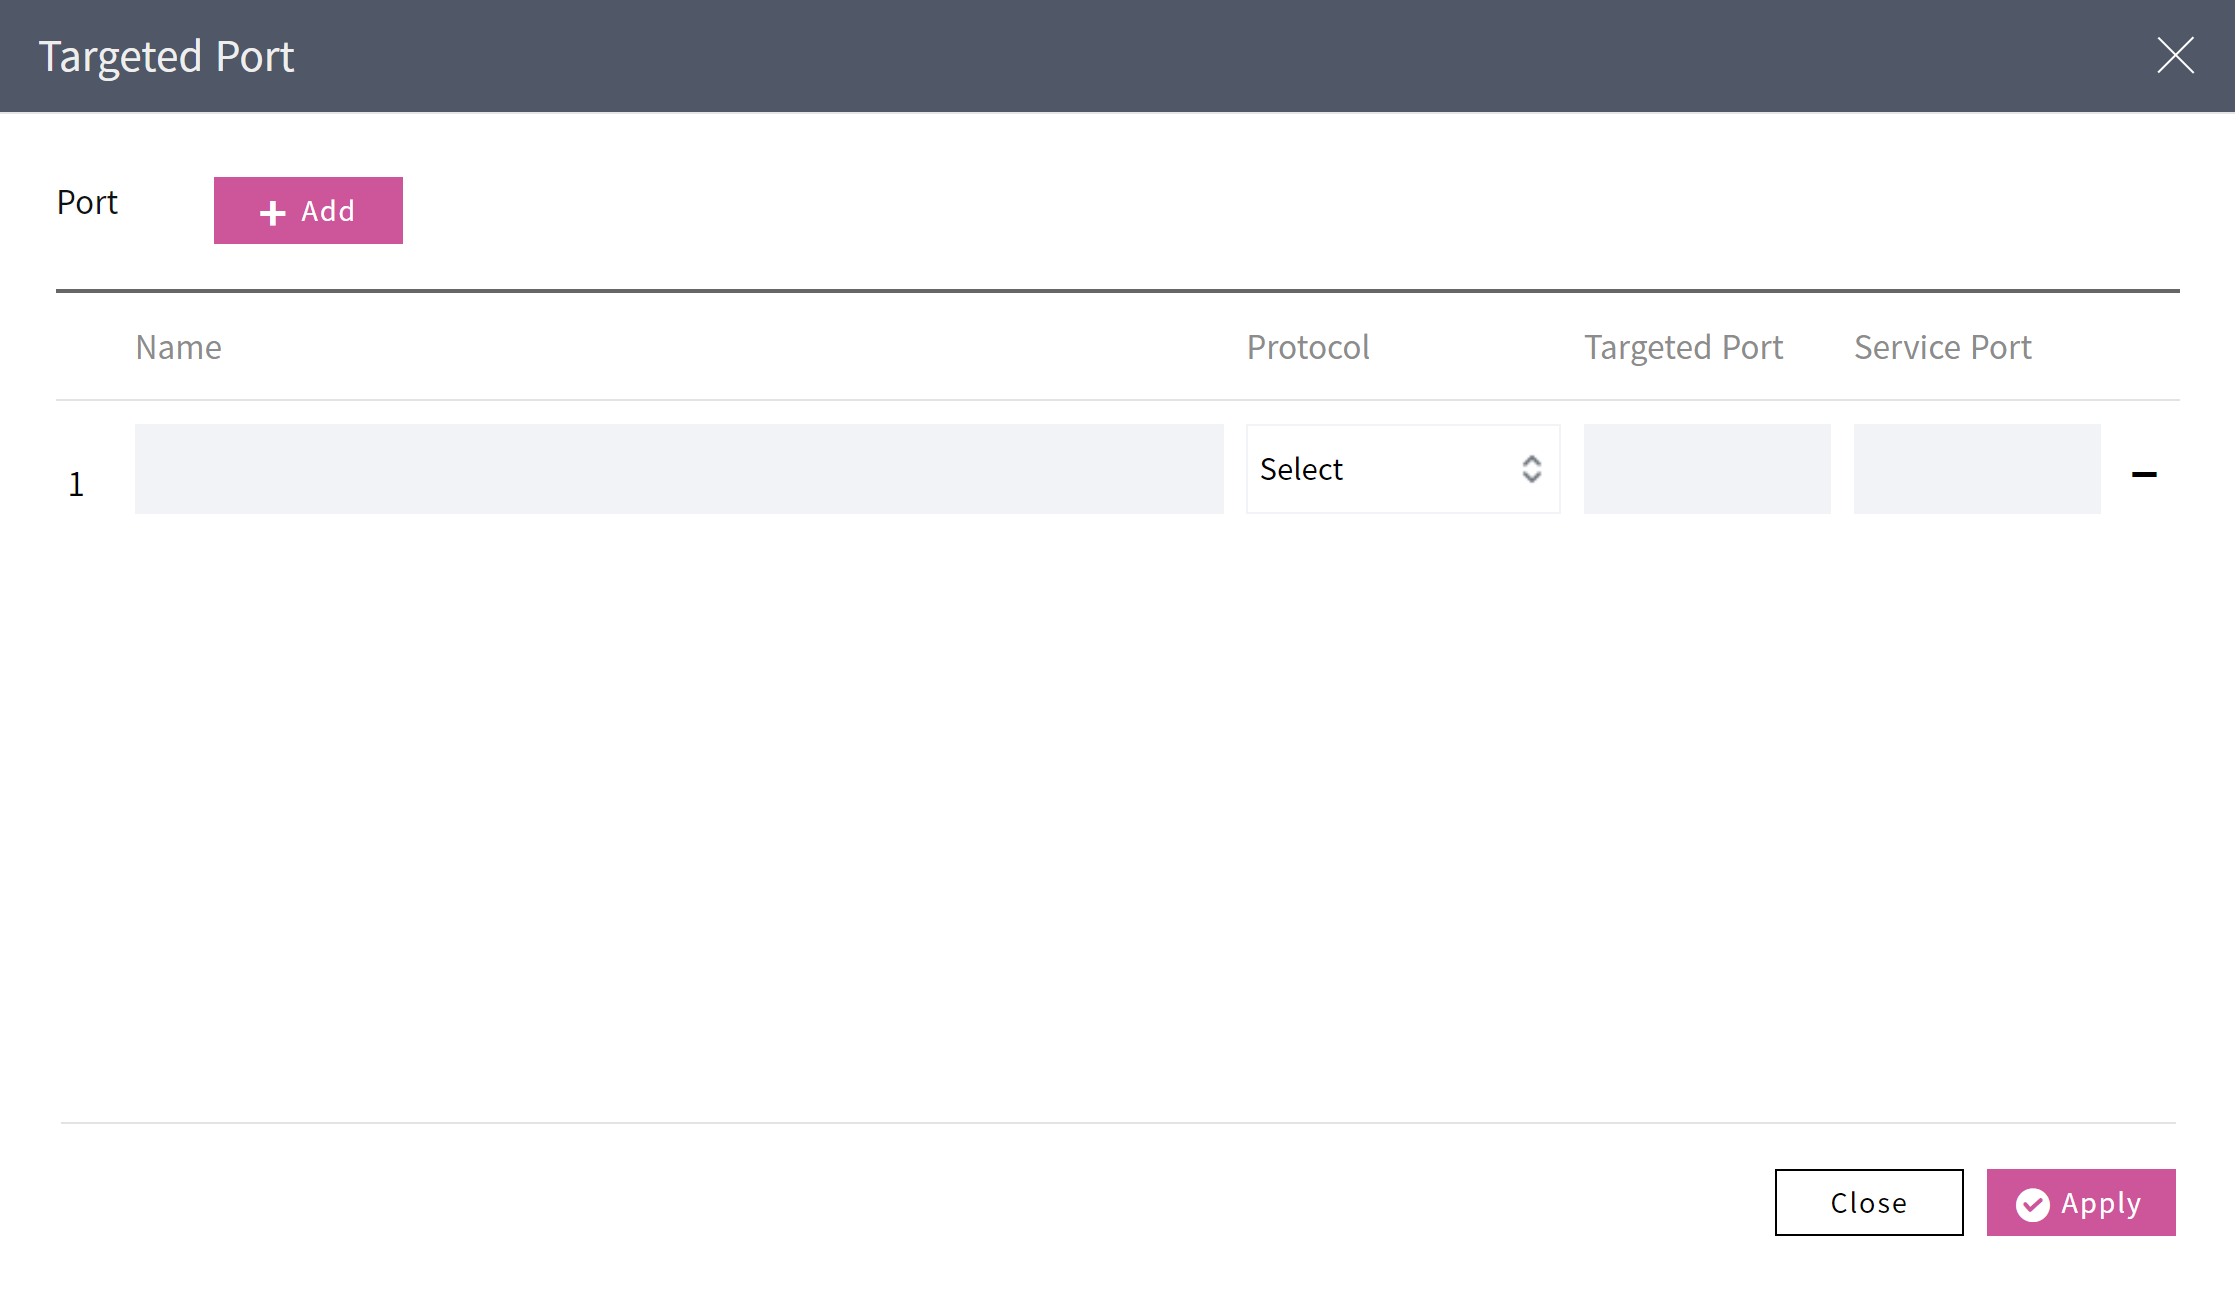
[Screen] Configure Target Ports for Service</p></figcaption></figure>

### 1.5 Save the configuration

After completing the information input, click the "Save" button to create the service.

## 2. **View Services**

Search the generated service information on the service exposure screen of the service map.

### 2.1 View the list of services

1\) Access the service exposure screen in the service map to check the list of created services.

<figure><img src="https://4196990571-files.gitbook.io/~/files/v0/b/gitbook-x-prod.appspot.com/o/spaces%2FL5As9l8R3RbLkQd6XsfL%2Fuploads%2FarQ7cBPSK3rEvj60NNrr%2Fimage.png?alt=media&#x26;token=90671ffe-2756-471d-925f-073c33dca76f" alt=""><figcaption><p>[Screen] View Service List</p></figcaption></figure>

### 2.2 View detailed service information

1\) Click on the service name displayed in the service list to view the service's configuration and status information.

<figure><img src="https://4196990571-files.gitbook.io/~/files/v0/b/gitbook-x-prod.appspot.com/o/spaces%2FL5As9l8R3RbLkQd6XsfL%2Fuploads%2Fd8YDMe44n2cd7K4l1O6M%2Fimage.png?alt=media&#x26;token=d892b250-cafc-40d4-ae72-e119868c3161" alt=""><figcaption><p>[Screen] View Service Configuration and Status Information</p></figcaption></figure>

2\) You can also view service configuration and status information in YAML format by clicking the settings button on the top screen, then selecting "YAML View" from the left checkbox.

<figure><img src="https://4196990571-files.gitbook.io/~/files/v0/b/gitbook-x-prod.appspot.com/o/spaces%2FL5As9l8R3RbLkQd6XsfL%2Fuploads%2FB4BKpgO1j8QAltjIG5Vq%2Fimage.png?alt=media&#x26;token=73906f80-1471-4be1-be78-b8b6a972c6db" alt=""><figcaption><p>[Screen] View YAML Format of Service Configuration and Status Information</p></figcaption></figure>
