# Setting Up Google GCR
## 1. Move to the external registry creation screen
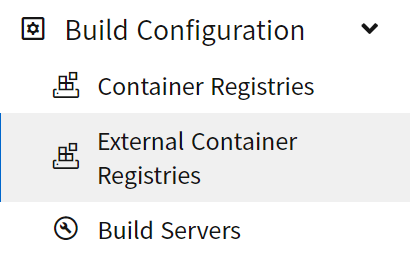
1\) Navigate to \[Build Configuration] - \[External Container Registries].
[Screen] Registries
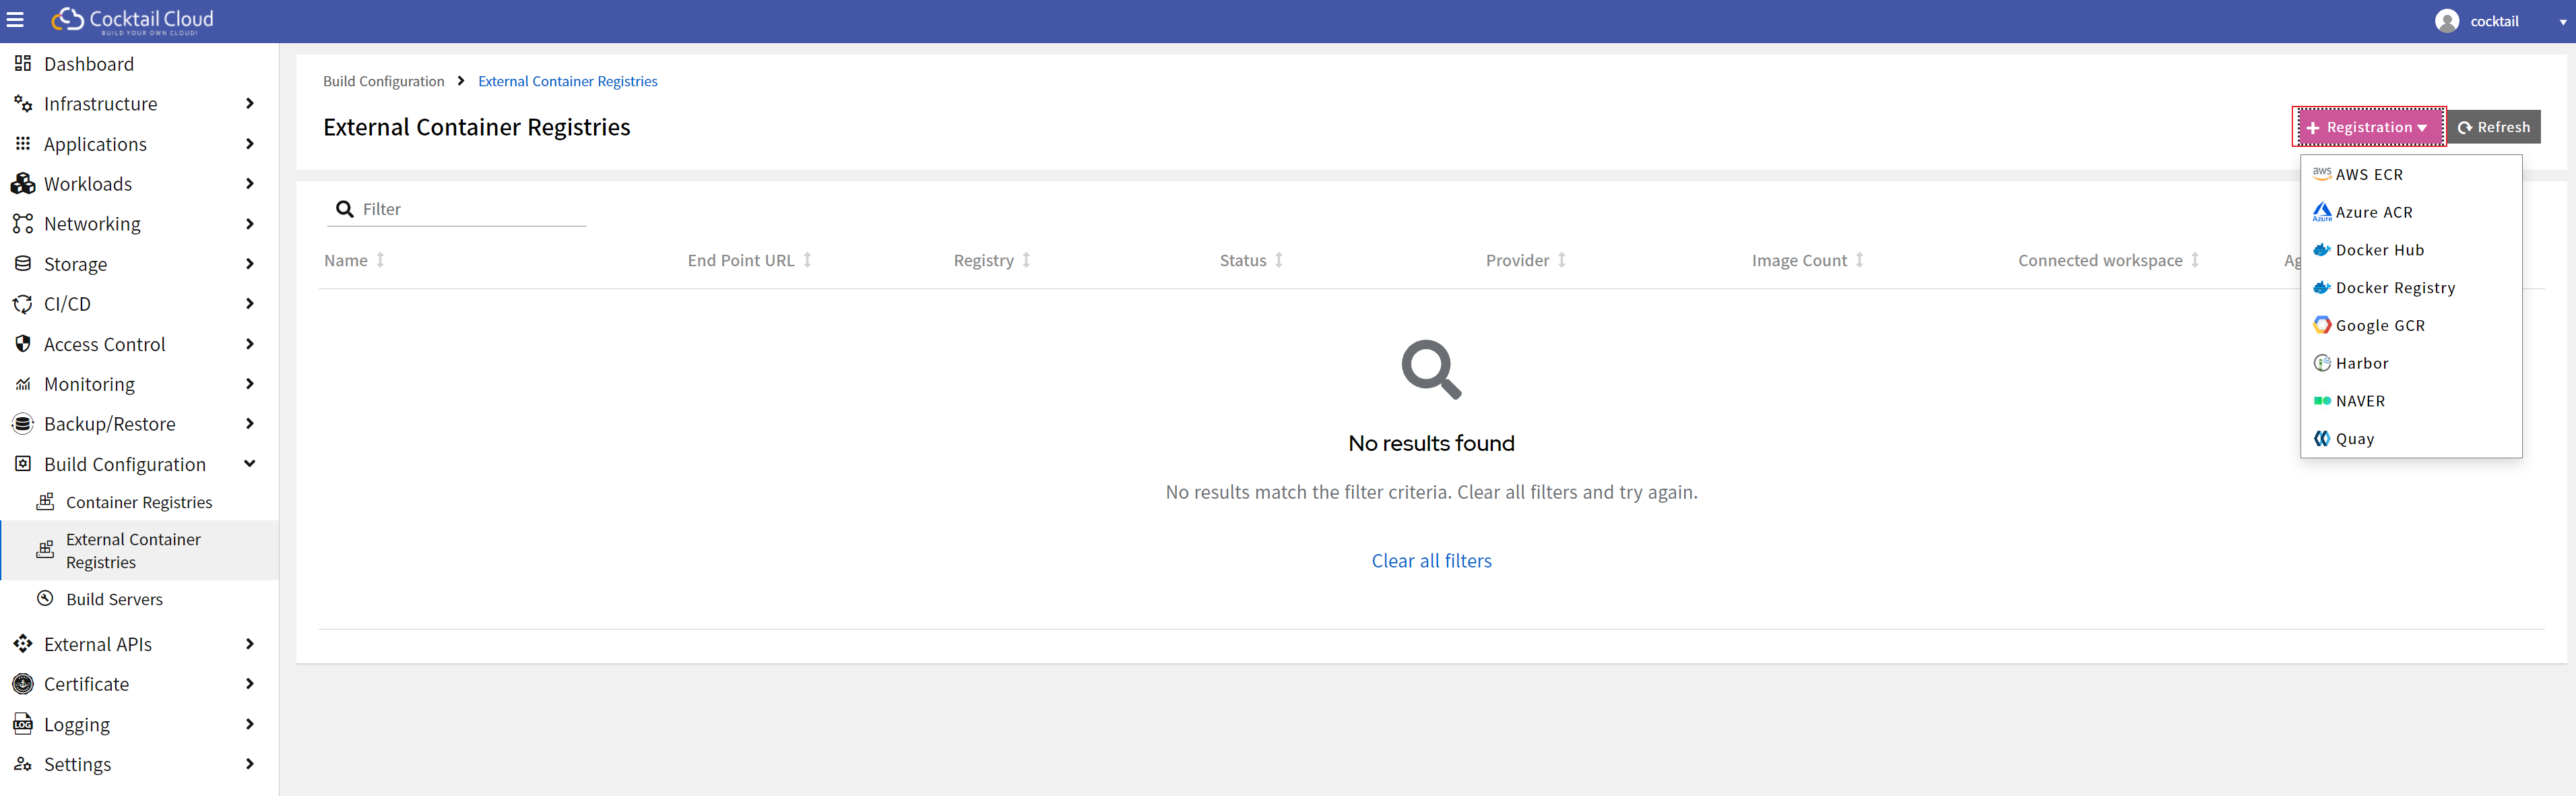
2\) Click the "+ Register" button in the upper right corner to select the provider for creation.
[Screen] Select External Registries
## 2. Enter Registry Registration Information
1\) Click the "+ Register" button and select "Google GCR."
[Screen] Select External Registries(Google GCR)
2\) After registering Google GCR authentication information in the basic information, click the "Test Connection" button.
[Screen] Register Google GCR Registry Authentication Information
| Item (\* is required) | Content |
| --------------------- | ------------------------------------------------------------------ |
| Name\* | Enter the name of the external container registry to be registered |
| Describe | Enter a description for the external container registry |
| Endpoint URL\* | Enter the Endpoint URL corresponding to the registry region |
| Registry\* | Enter the name of the already registered registry |
| Access ID\* | \_json\_key |
| Access JSON\* | Enter the google service account private key (in JSON key format) |
* List of regions:
1. Enter the name for the registry to be created in the registry.
2. Enter a description for the registry in the description.
3. Enter the EndPoint URL in the correct format.
4. Enter the registry name.
5. Enter Access ID and Access JSON.
6. Click "Test Connection" in the upper right corner to verify if the registry is available.
7. Click the "Save" button in the upper right corner.
***
### **Access JSON Verification Steps**
1\) Log in to the Google Cloud Console.
{% embed url="" %}
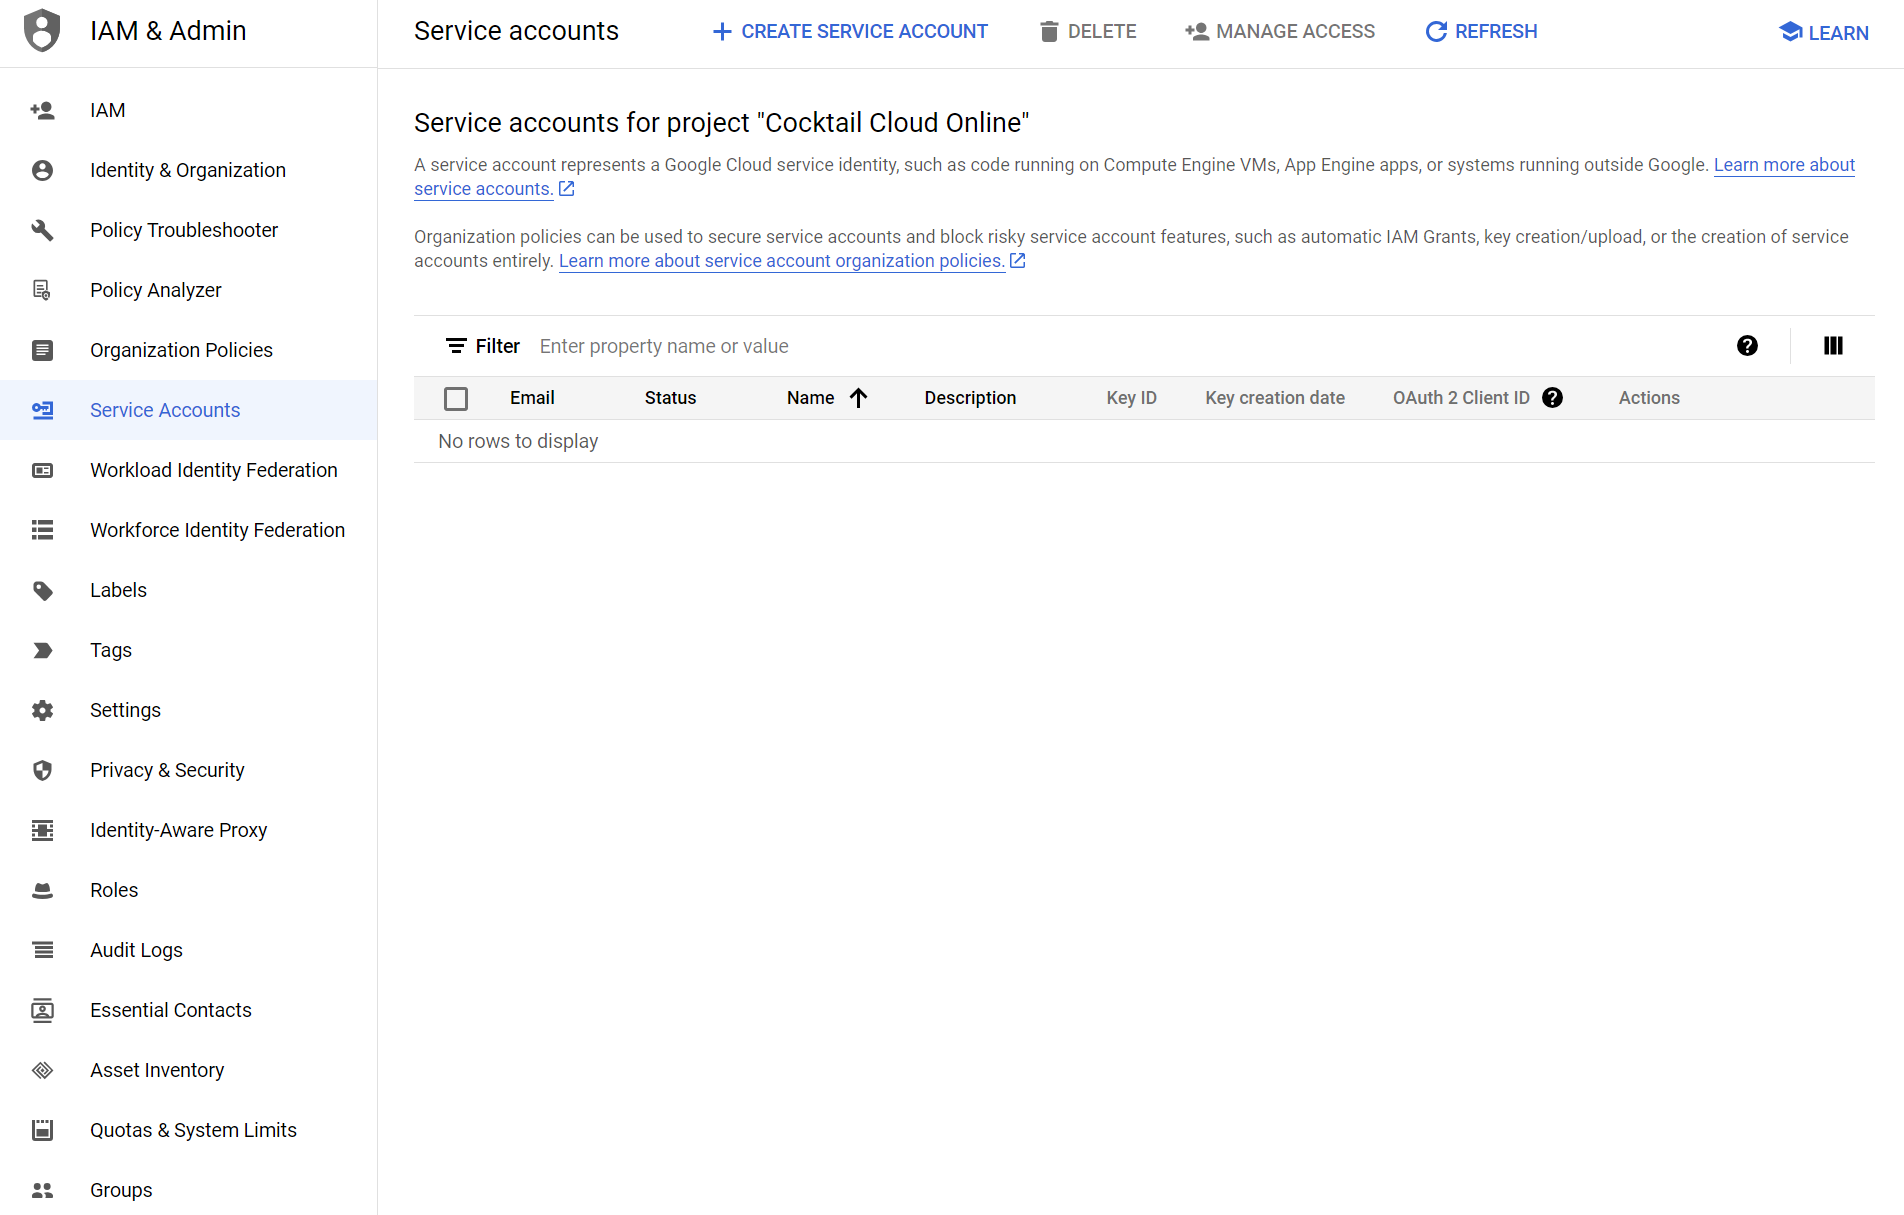
2\) In the Google Cloud Console, click on the "IAM & Admin" button.
3\) Under the "IAM & Admin" tab, click on "Service Accounts," then click the "+ Create Service Account" button at the top center.
4\) Set the name for the service account. then click "CREATE AND CONTINUE"button.
5\) Set the permissions for the service account to be created.
**Owner permissions grant full access to most Google Cloud resources.**
**You can provide different permissions if needed, but access may be restricted based on the assigned permissions..**
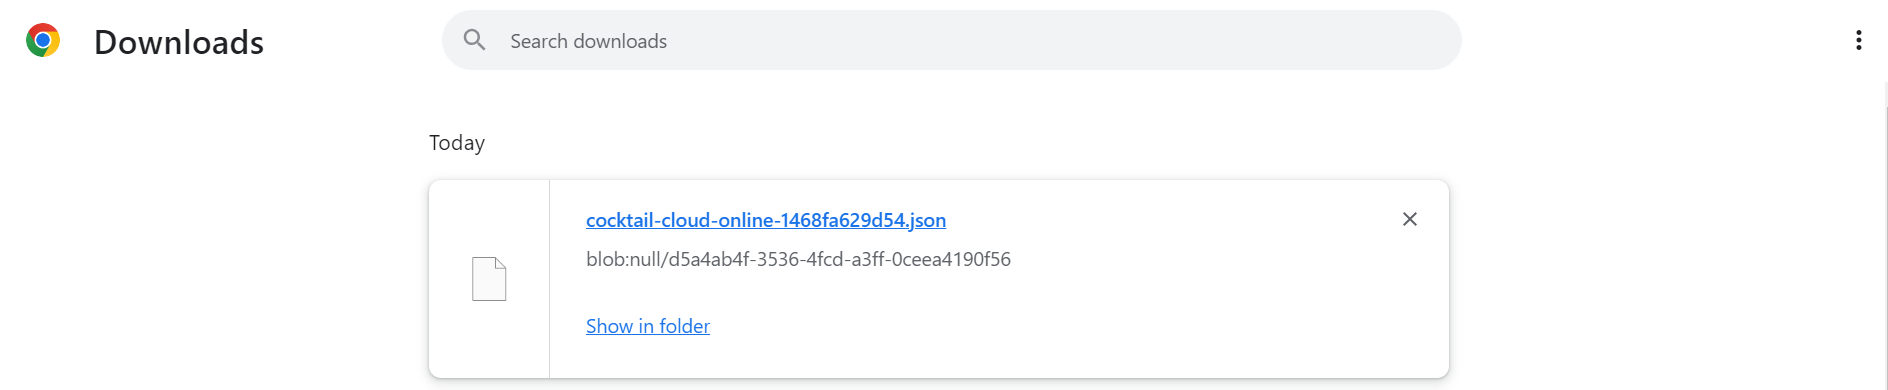
6\) Click on the created service account, click "Add Key," then click "Create a new key," choose JSON format, and click "Create."
7\) Verify that the JSON file has been generated locally.
`Accss JSON` : File contents
### **Project ID Verification**
`Project ID` : The name in the leftmost select box in the search.
### **Registry & Endpoint URL Verification**
`레지스트리` : Repository name
`Endpoint URL` : Region of the registry to be created
---
# Agent Instructions: Querying This Documentation
If you need additional information that is not directly available in this page, you can query the documentation dynamically by asking a question.
Perform an HTTP GET request on the current page URL with the `ask` query parameter:
```
GET https://cocktailcloud.gitbook.io/cocktail-cloud-online-en/start/registry/undefined/google-gcr.md?ask=
```
The question should be specific, self-contained, and written in natural language.
The response will contain a direct answer to the question and relevant excerpts and sources from the documentation.
Use this mechanism when the answer is not explicitly present in the current page, you need clarification or additional context, or you want to retrieve related documentation sections.